
Available with Essentials Plus, Enterprise or as a bolt on.
A webhook can tell your system when something has happened in PageTiger - like a reader completing an assessment. You don't have to keep checking; PageTiger sends the update the moment it happens.
A simple way to remember it - PageTiger posts a note through your system's door delivering new information the moment it's available so your system can act on it.
Overview
First, decide where you want to use the webhook - for example, when a document is viewed or an assessment is completed. Next, prepare your system to listen for the webhook and add the webhook URL to PageTiger. Once this is in place, send a test to check your system receives the data correctly, such as a name or email address. You can then map the data and define what your system should do with it, such as matching the email address to a user.
Example Use Case
Steve has created a new webhook notification and applied it to an assessment module within the New Starter pack sent to Clare. When Clare completes the assessment, the webhook fires instantly and sends a real-time notification to update their system and mark her onboarding as complete.
Benefits
-
Receive document data in real time when a reader takes action, such as opening a document or completing an assessment.
-
Trigger actions in your internal systems, such as CRM updates or onboarding follow-ups.
Do I need anything extra to make a webhook work?
Often, yes - you may need something in between to receive and translate the data so your system can understand it. This is known as a connector (sometimes called an iPaaS) and is usually set up by your IT team or the other platform’s provider.
Setting up a webhook notification
- Set up a webhook URL (a specific HTTP POST URL on your server).
Your IT team are usually responsible for building and configuring webhooks.
- Log into your PageTiger account.
- Select 'Documents' from the main menu, followed by 'Settings'.
- Choose the 'Notifications' option.
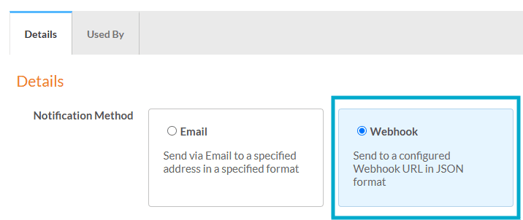
- Select 'Webhook' as the notification method.
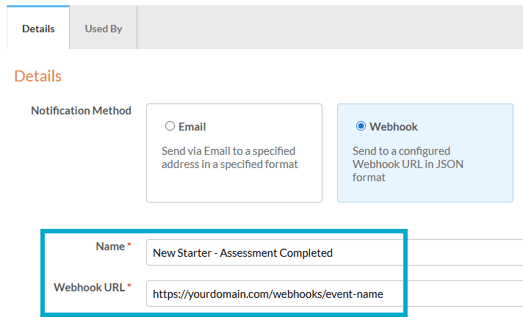
- Enter a name for the notification, for example 'New Starter - Assessment Completed'.
- Paste your webhook URL into the 'Webhook URL' field.
- Ensure the 'Enabled' checkbox remains ticked.
- Once done, save and test the notification.
- You can then choose which fields you wish to map from the webhook to your system.
Testing a webhook notification
Use the Test Webhook option to send a test request and confirm that the webhook is set up correctly and working as expected.
- Select the 'Send Test Request' button.

- Choose the notification type from the drop-down list.
- Press the 'Send' button.
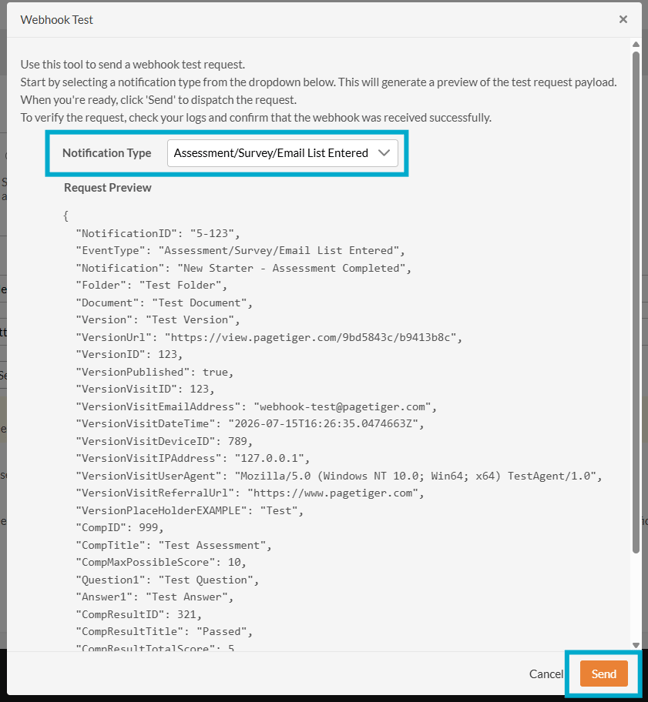
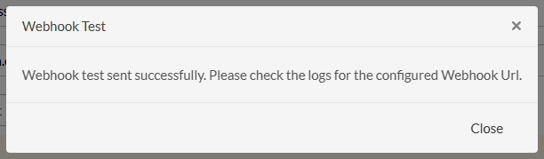
- Check your logs and confirm that the webhook was received successfully.
- You can then choose which fields you wish to map from the webhook to your system.